Why Buy
High Mowing Non-GMO Organic Seeds 

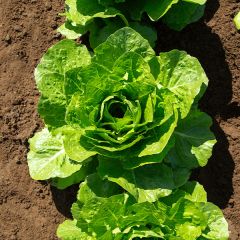
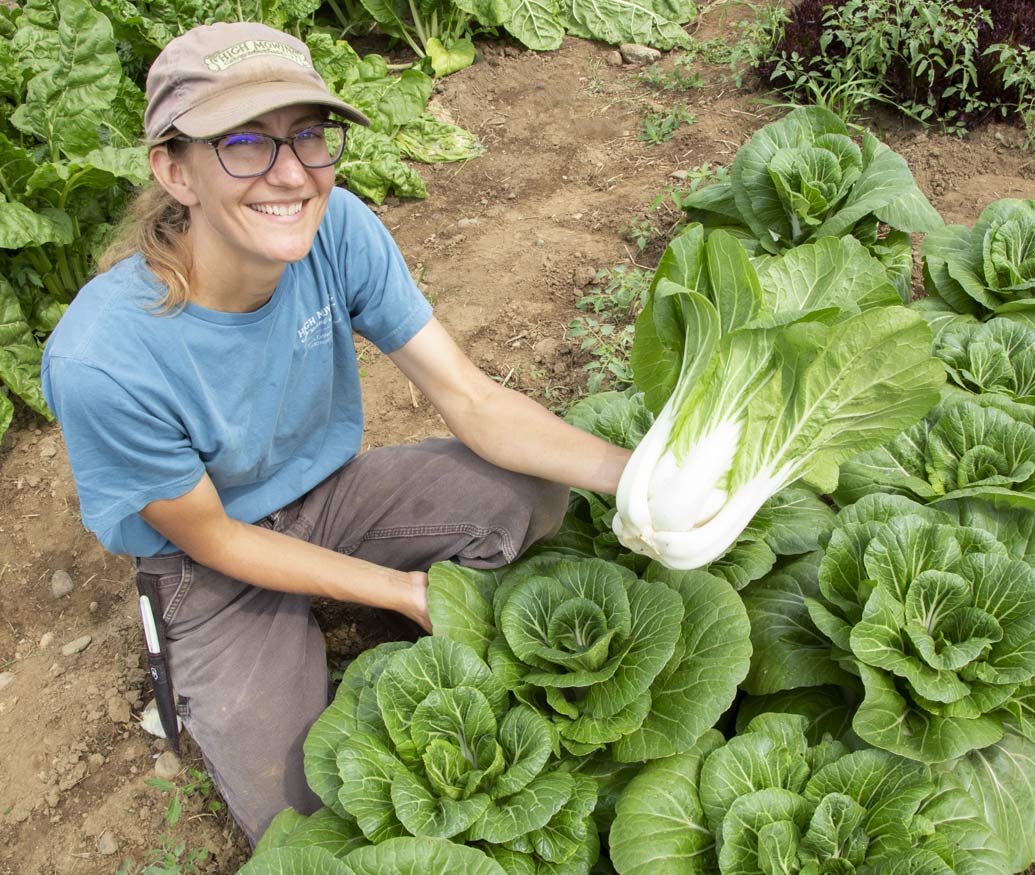
We offer 100% certified organic seed, bred to perform best in organic conditions with robust, vigorous genetics and modern disease resistances. All of our organic, Non-GMO seed is regularly tested for germination rates, disease and GMO contamination. Our team is knowledgeable, communicative and dedicated to the stewardship of our planet.
We are passionate about supporting the important work of our organic growers and we know that together we can build a greener, more just and community supported world, one seed at a time.
*Free shipping. All orders over $200 ship for free within the contiguous United States! Learn more here.
New for 2024


Feed the Bees
Pollinator Friendly Picks
Browse our great selection of plants that provide food for bees and butterflies, while making our own landscapes productive and beautiful.
Keep Harvesting
Succession Crops
When you are selecting varieties for succession plantings, remember to consider days to maturity, nutrient requirements, and pest and disease susceptibility.

Bitter and Beautiful
Our Chicories
These fabulously bitter greens are on trend right now due to their versatility in the kitchen, their unique textures and flavors, and for their jaw-dropping beauty.